HP Printer Troubleshooting Guide to Fix HP Printer Related Issues
The HP printers have been manufactured using the latest technology that includes some amazing features in it. Despite being the most effective printer, there are some technical errors as well. The situation becomes more worsen and frustrating when you are unable to print the documents. Well, if you are the one who is facing the same issues then this HP printer troubleshooting guide will help you in fixing the various issues associated with your printer. In this blog, we have highlighted the most efficient and simplest methods to diagnose HP printer issues. You just need to scroll down and read the blog carefully from top-to-toe.

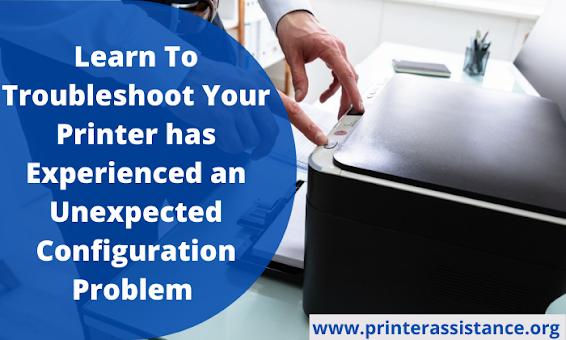
Instructions to Troubleshoot HP Printer Problems
Follow the below steps to troubleshoot the HP printer related issues that makes you unable to print the documents:
Method 1: Basic Troubleshooting
If your HP printer stops working then the first thing that you need to do is to check the status of the connection between your computer and printer. Ensure that all the devices are connected properly with each other. Also, the cable that you are using for establishing connection is working.You can also try to restart your printer. Turn off your device for some time and unplug the power cable. Now, plug in the power cord and turn on your printer to see whether the issue gets resolved or not.
Method 2: Update or Reinstall the Printer Drivers
The HP printer may create issues due to the faulty and outdated printer drivers. So, update the printer drivers to the latest available version or you can reinstall the drivers to resolve the issue.
Method 3: Set your HP Printer to Default
If you do not have set your HP printer as default then you won’t be able to print the document. Here are the steps to set your HP printer to default if your printer is not set as default:
Press both Windows and R keys simultaneously to open the Run dialog box.
Enter the Control Panel in the dialog box to open the Control Panel.
Choose Devices and Printers from the Control Panel.
Once you reach the printers section then right-click on the logo of your printer and click on set as the default printer option. Tap on the Yes button if prompted.
Now, you will find a tick mark below the HP printer icon. It means that your printer is set as the default printer.
Method 4: Cancel Printing Jobs
Stuck print queue is another common issue due to which your printer is unable to print. If there are some failed print jobs in the print queue then it may restrict you to print the documents. To fix this issue, you have to clear the print jobs to get your printer workable again. Here are the steps to cancel printing jobs:
Go to the Start button and then click on the Control Panel. Open Devices and Printers.
Next, right-click on your printer under the Printers section.
After that, see what’s printing.
Now, open the printer menu and then click on Open as Administrator.
Open the printer menu again and choose Cancel All Documents.
When a new window opens then confirm your action.
That’s all! We hope that by following the above HP Printer Troubleshooting Guide, you can easily resolve the issues associated with your HP printer. In case, you are unable to print the documents then reset your printer to the factory default settings. Even after following all of the troubleshooting tricks, if you are unable to fix the issue then you can directly contact our expert team for resolution of the problem.


Comments
Post a Comment