What to Do for Brother Printer WiFi Setup?
Struggling with the brother printer WiFi setup? Do not know how to connect the Brother printer to the WiFi connection? Searching for the answer to this question? If the answer is yes then you don’t need to be worried as you have reached the right platform. Here, you will get the answer to all of your questions. In this blog, we have shared the simple user manual guide that helps you with Brother printer WiFi setup on various devices. Keep reading till the end and check out the steps to connect your brother printer to the WiFi connection. Let’s get started without any further delay.
Step-by-Step Instructions for Brother Printer WiFi Setup
Look at the below steps to learn the simplest way on how to connect the brother printer to the WiFi connection:
Step 1: The first step is to switch on your wireless router and ensure that you have placed your brother printer within the WiFi network range.
Step 2: After that, connect the power cord of the Brother printer to the power socket and turn on your printer.
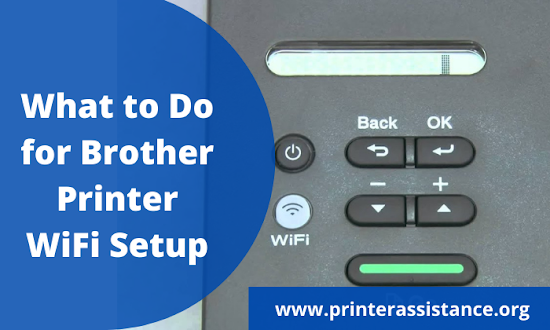
Step 3: Thereafter, tap on the Menu button given on the brother printer.
Step 4: Next, select the Network option by using up and down arrow keys. To select the option, tap on the Ok button.
Step 5: Use up and down arrow keys to choose the “WLAN” option and then tap on the Ok button to select the option.
Step 6: Choose the “Setup wizard” option by using the up and down key. Tap on the Ok button again.
Step 7: Once you see the “WiFi enable” option, you need to press the Yes button on it. Now, you will see that the brother printer will start searching for all the nearby wireless networks automatically.
Step 8: In the next step, you need to select your wireless network from the displayed list and press on the Ok button.
Step 9: Now, you need to enter the password for the chosen wireless network if required. Make sure to enter the correct password and then tap on the Ok button.
Step 10: At last, you will get a pop-up message saying your brother printer is connected to the wireless network successfully.
Steps to Connect Brother Printer to Windows Computer
Follow the below steps to connect the Brother printer to the WiFi from Windows computer:
Step 1: The first step is to turn on your brother printer. Also, connect your printer to the WiFi network.
Step 2: Go to the brother printer official website and download the appropriate printer driver and software for your printer model number.
Step 3: Search for the brother printer model number and tap on the “Download driver” option according to the Windows compatibility.
Step 4: Now, you will see that the driver installation will start on your system. You need to wait for some time until it completes.
Step 5: Open the driver download file and complete the installation setup process.
Step 6: Open the Run command from the Windows menu and enter the control panel in the dialog box.
Step 7: Choose the “Device and Printer” option from the control panel.
Step 8: Tap on the “Add printer” option and then choose the brother printer from the list. Tap on the Next button to proceed further.
Step 9: Wait for some time until the setup process is completed.
Step 10: Finally, you will see that the connection has been established successfully between the brother printer and Windows computer.
Here, this article will guide you how to do Brother printer WiFi setup on various devices that might be helpful in fixing the printer related issues.
Comments
Post a Comment